Overview
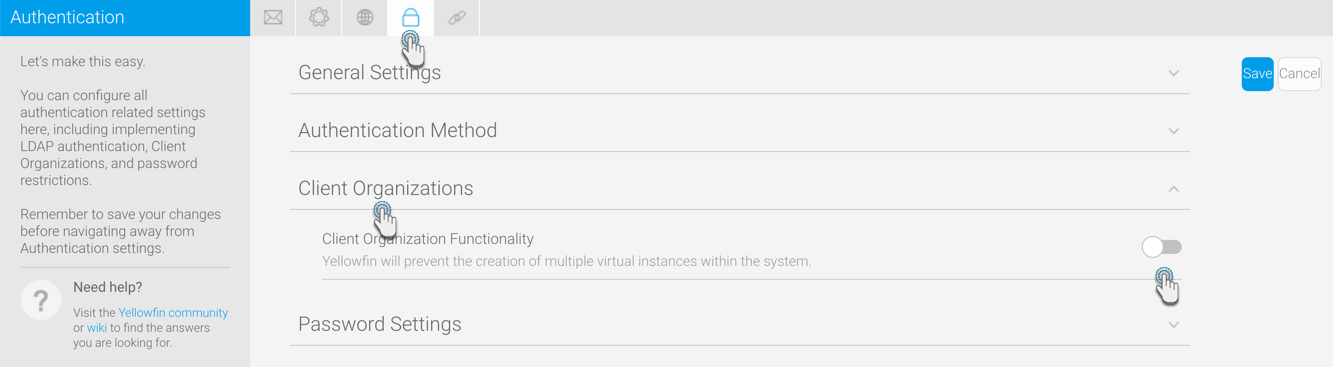
- Navigate to Administration > Configuration > Authentication, expand Client Organizations, and enable the Client Organisation Functionality toggle.
- To enable the required role permission, navigate to Administration > Admin Console > Roles, and select a role. Then on the Role Management page, expand the Administration role permissions section.
- Then enable Client Organization Management. This option allows users to set up and manage Client Organizations.

- Save the change. Then log out and back in again for it to take effect.
- Then enable Client Organization Management. This option allows users to set up and manage Client Organizations.
Creation
- In order to create a Client Org, you must navigate to Administration > Client Organizations.

- Then on the Client Organization page, click on the Add button.
- From here, you will need to define the following:
- Name: this is the display name for the Client Organization.
- Client Reference ID: used to uniquely identify the Client Organization.
- Time Zone: this is used as the default time zone when new Data Sources and Users are created within the Org.
- Custom Style Path: (not required) this path is used for custom styles specific to this client organization.
- Users: this is a list of users who will have access to the Org.
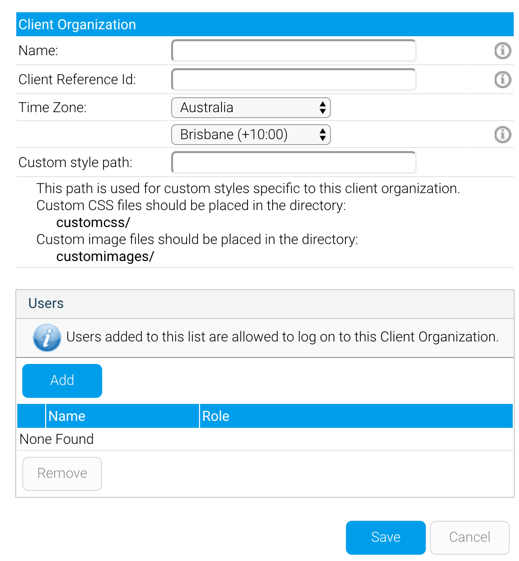
- Save these details.
Client Reference ID
A Client Organisation is identified by a Client Reference ID. This is an arbitrary text identifier assigned when the client is created. This ID must uniquely identify the Org across the entire system and may not be left blank. The Default Org is an exception to this, as the ID is initially blank, but can be defined at any time.
Generally, the Client Reference ID should be an internal, unique code that you use to identify a client. Yellowfin can use this code to filter reports based on which client a user has logged into. A display name for the client is also set, which may be different to the ID.
Users
In order to add a user to a Client Org, they must first be created in the system, either at the Primary or Client level. When a new user is created, they are automatically assigned access to the Org they were created in. If users were created before Client Orgs were enabled, they will need to be manually added to at least one Org. Once created in Yellowfin, users can be assigned access to any Org (Primary or Client) in the system.
Groups
User Groups can only contain Users who have log in access to the Client containing the Group. For example, if an Administrator creates a Group for Client 1, only Users of Client 1 can be added to the Group, Client 2 Users will not.
Access
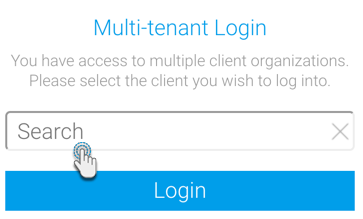
Note: if you wish to specify which Org the user logs into, this selection screen can be bypassed using a custom login page, or with web services.
Content
See Content Management for more information.
Securing Primary Org Content
It is possible to assign access permissions to content located in the Primary Org by securing the Content Categories it's stored in, based on Client Org User Groups.
See Primary Org Content Security for more information.
Configuration Options
Note: some Configuration options are only applicable to the Primary Organisation, and will not be shown when logged in to a client.
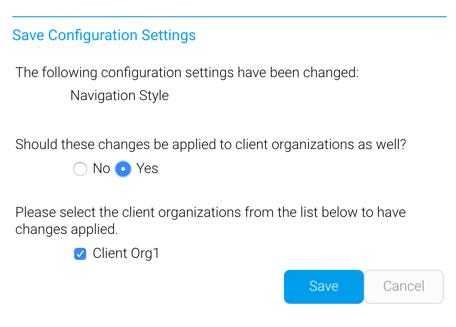
After you have created one of more Client Organisations, any changes to the Primary Organisation's Configuration Settings may be optionally applied to different Client Organisations as well. The Administrator will be prompted to define which Clients the changes should apply to (see below).
Displaying Current Client Organization
If you have users that have access to, and routinely move between different Client Organizations, it may be useful to display which Client the user is currently logged in to. To enable this display, navigate to Administration > Configuration > Integration, expand Page header, and enable the Client toggle, then save the changes. There are also options to display the name and role of the current user.
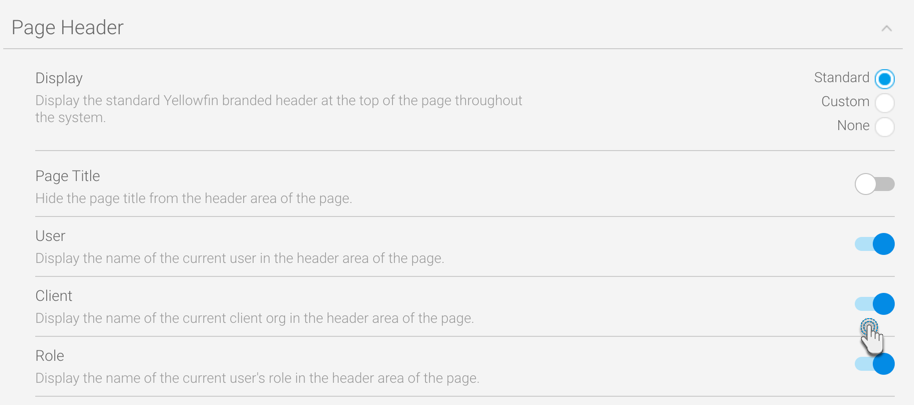
These items are then displayed in the Standard Yellowfin Header as shown here:
![]()