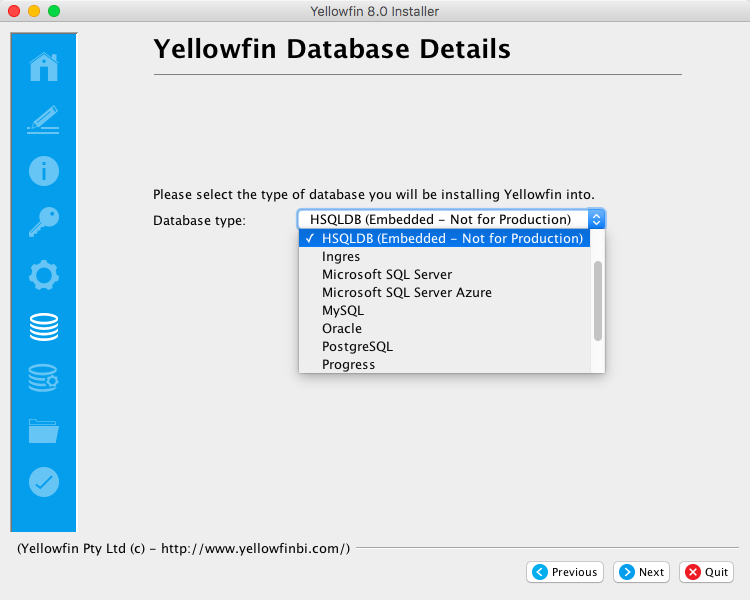
Choose the database type that you wish to install the Yellowfin Repository database into. This selection is based on the database information covered in the prerequisites.
Based on your selection the next few steps will vary. Click the Next button to continue.
Column
width
50
Section
Column
width
50
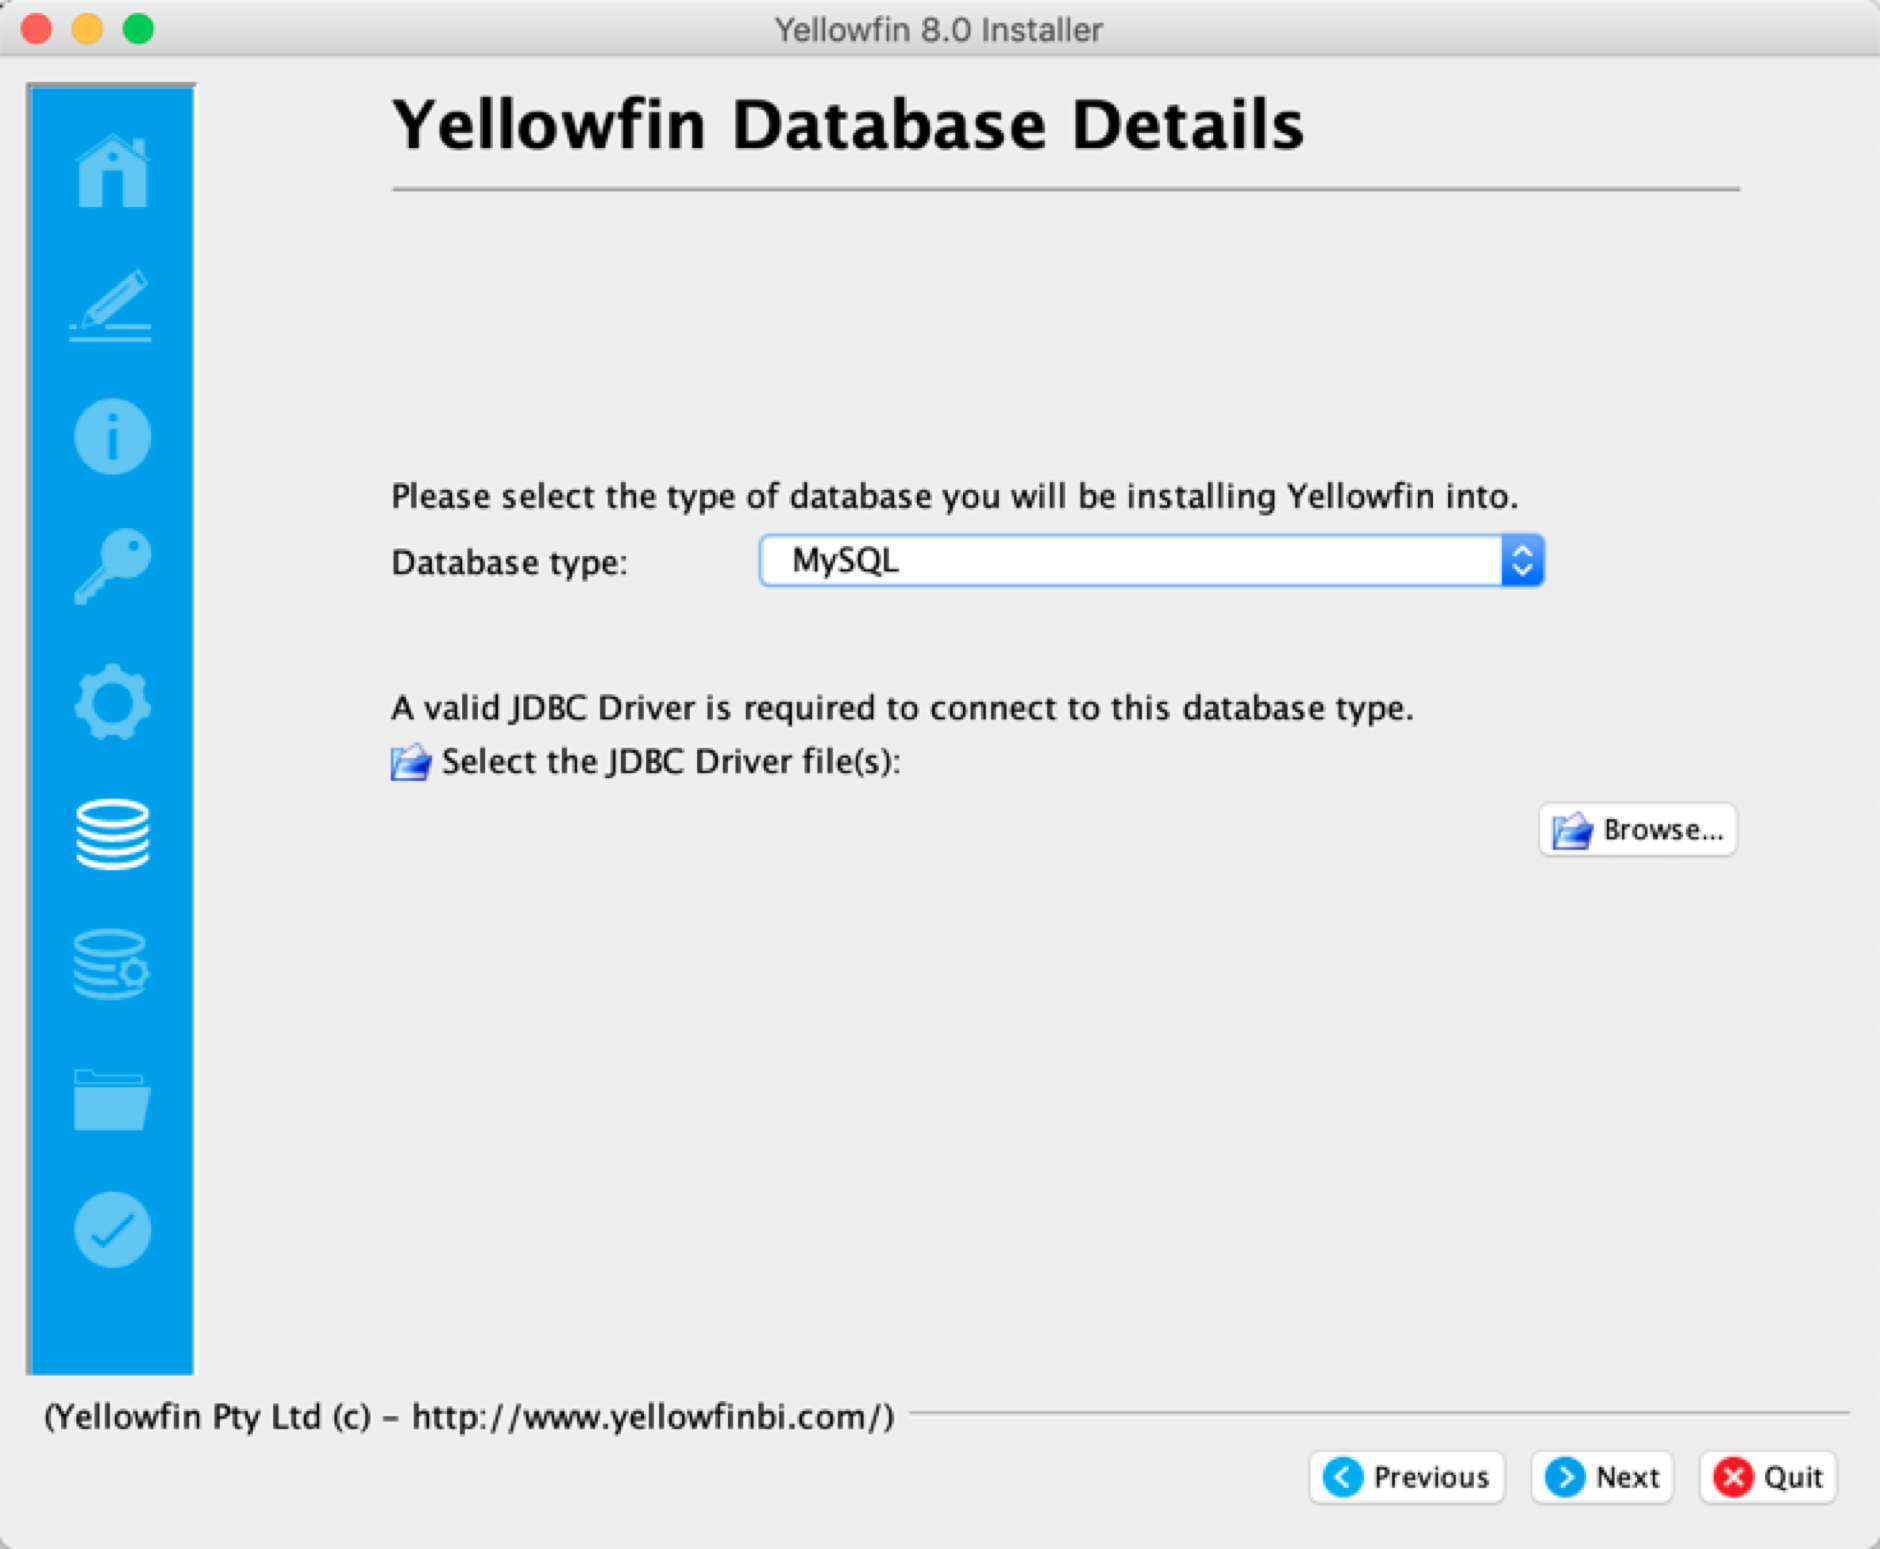
If the JDBC driver of your selected database is not packaged with the Yellowfin installer, then an additional step is required to upload the driver.
Click on the Browse button and choose the location where the driver is stored.
Column
width
50
Image Added
Step 9: Database Details
Section
Column
width
50
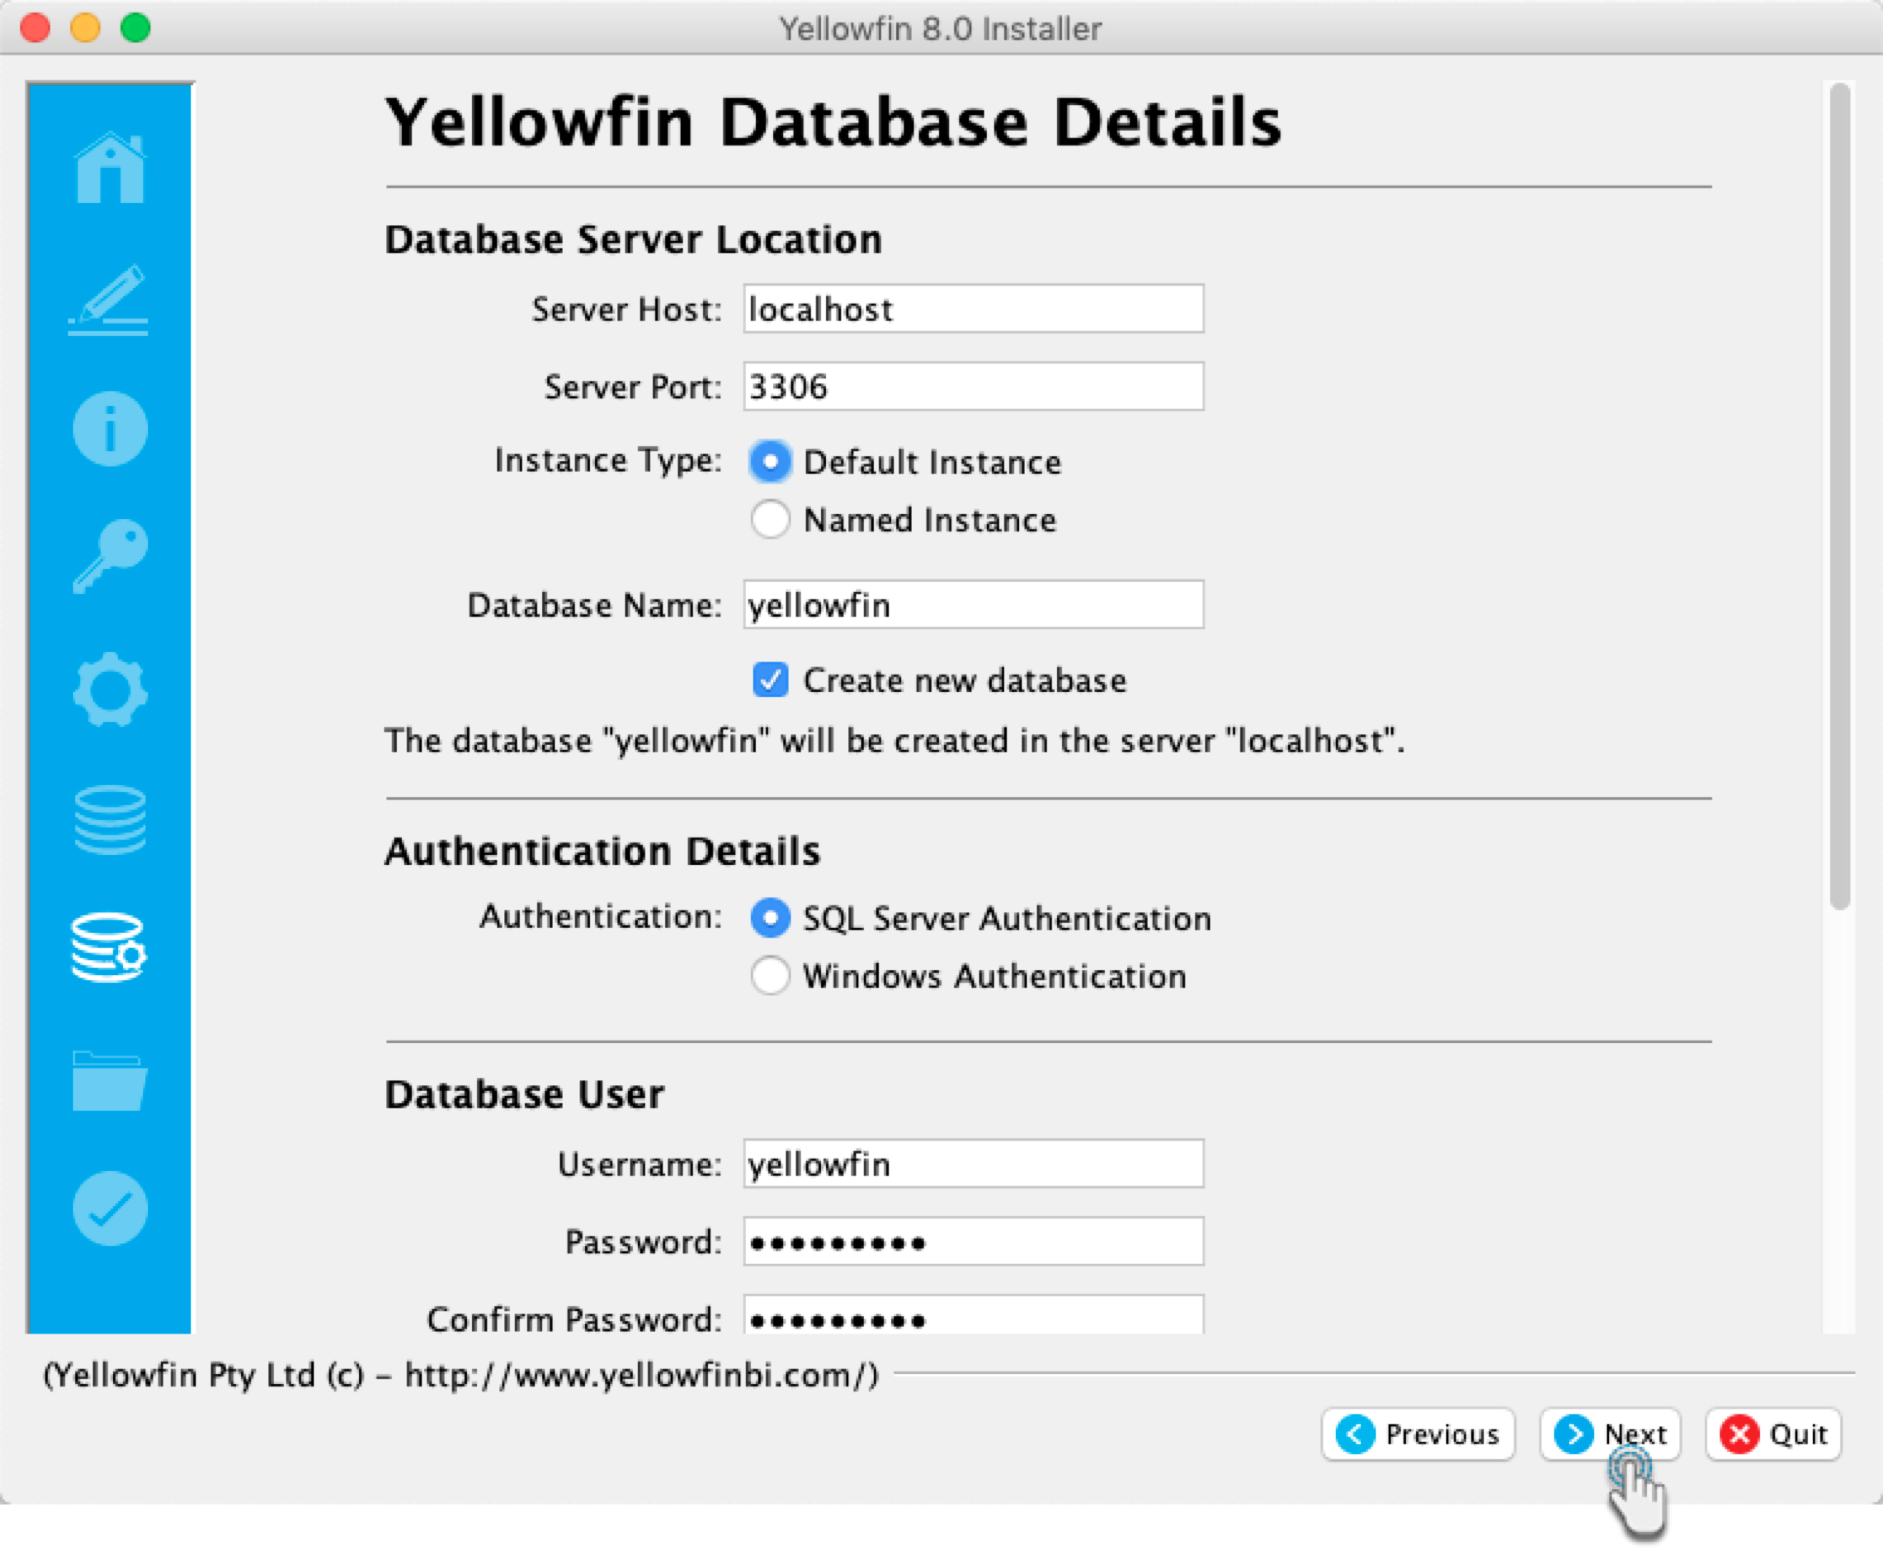
In this step, provide the configuration details for the database server this is hosting the Yellowfin database. This is the database that stores all the Yellowfin content definitions, configuration information, and event details. This database can be created before the installation or the Yellowfin installer can create it for you.
Note
If you chose a database type of HSQLDB (Embedded - Not for Production) you will not see this screen because this database type has no configuration options.
As an example, if you selected Microsoft SQL Server, these are the options you would have to populate in order to set up the Yellowfin Configuration Database. If you choose another compatible database server the screen may look slightly different.
Database Server Location
Server Host
Enter the network address of the database server hosting the Yellowfin database. If the Yellowfin database is on the same computer as the Yellowfin application enter localhost
Server Port
Enter the network port number of the database hosting the Yellowfin database.
Database Name
Enter the name of the Yellowfin database.
Create New Database
If the above database does not exist on the database server, tick this option to allow the Yellowfin installer to create a new database to host the Yellowfin database using the database name entered above. When you tick this option the Administrator User section will appear on the screen.
Authentication Details
Authentication
This configuration is specific to Microsoft SQL server. Choose how the database users should be authenticated. Options include:
SQL server authentication
Windows authentication
Logon Domain
If Windows authentication is selected, then specify a logon domain.
Database User
Username
Enter the name of the database server user account that has access to the Yellowfin database. This database user must have full read and write permissions to the Yellowfin database.
Password
Enter the password of the database server user account that has access to the Yellowfin database.
Confirm Password
Re-enter the password of the database server user account that has access to the Yellowfin database. (This is only required if creating a new user.)
Create New User
If the above database user does not exist on the database server, tick this option to allow the Yellowfin installer to create a new database user account to access the Yellowfin database. When you tick this option the Administrator User section will appear on the screen.
Administrator User
This section appears if you select the Create New Database and/or Create New User options.
Username
Enter the name of the database server user account that has administrator-level access to the database server hosting the Yellowfin database.
Password
Enter the password of the database server user account that has administrator-level access to the database server hosting the Yellowfin database.