Page History
| Anchor | ||||
|---|---|---|---|---|
|
| Table of Contents | ||
|---|---|---|
|
Overview
There are a variety of ways to deploy Yellowfin on Azure. The most common are:
- Download and install the Yellowfin installer, as you would do for an on-premises installation;
- Install Yellowfin within one or more containers that you've already set up on Azure; and,
- Try Yellowfin for free with a pre-installed version of Yellowfin for Azure (via Marketplace).
Option 1: Download and install the Yellowfin installer
If you decide to install Yellowfin independently on AWS, you can use our existing on-premises installer and follow the steps outlined here in our Install on Premises section.
Option 2: Install Yellowfin in a container on Azure
For containerized deployments, see our dedicated section — Install in a Container.
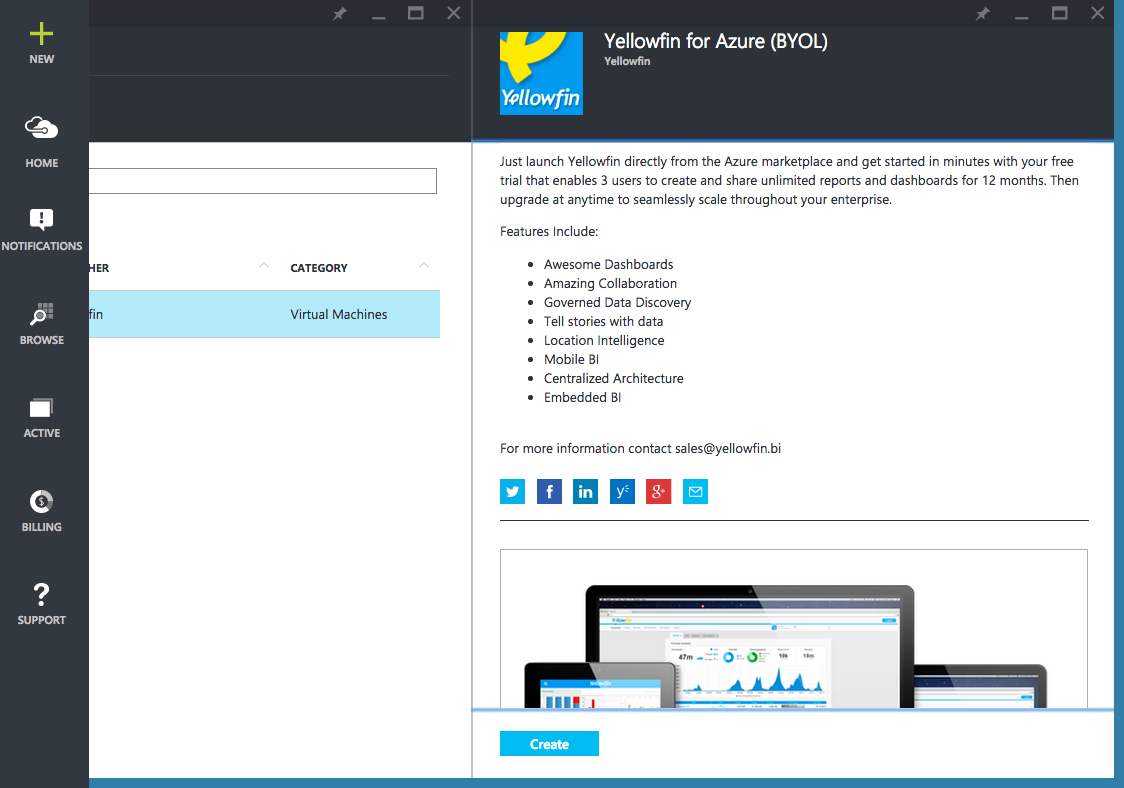
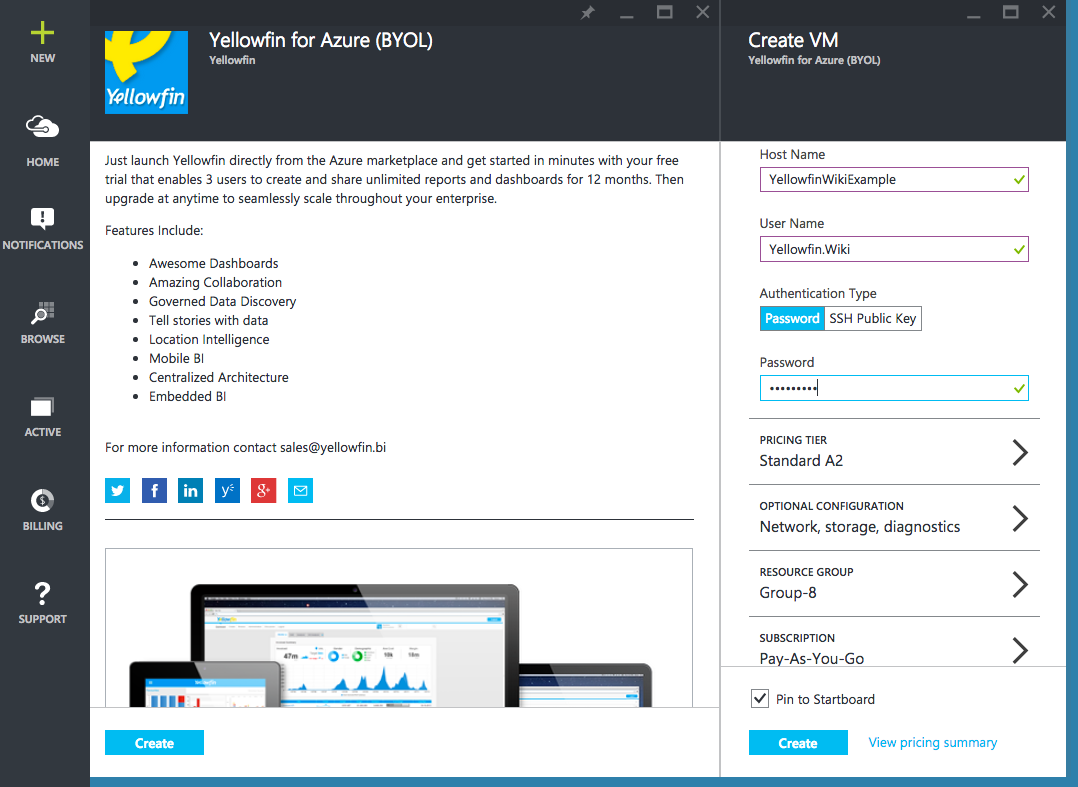
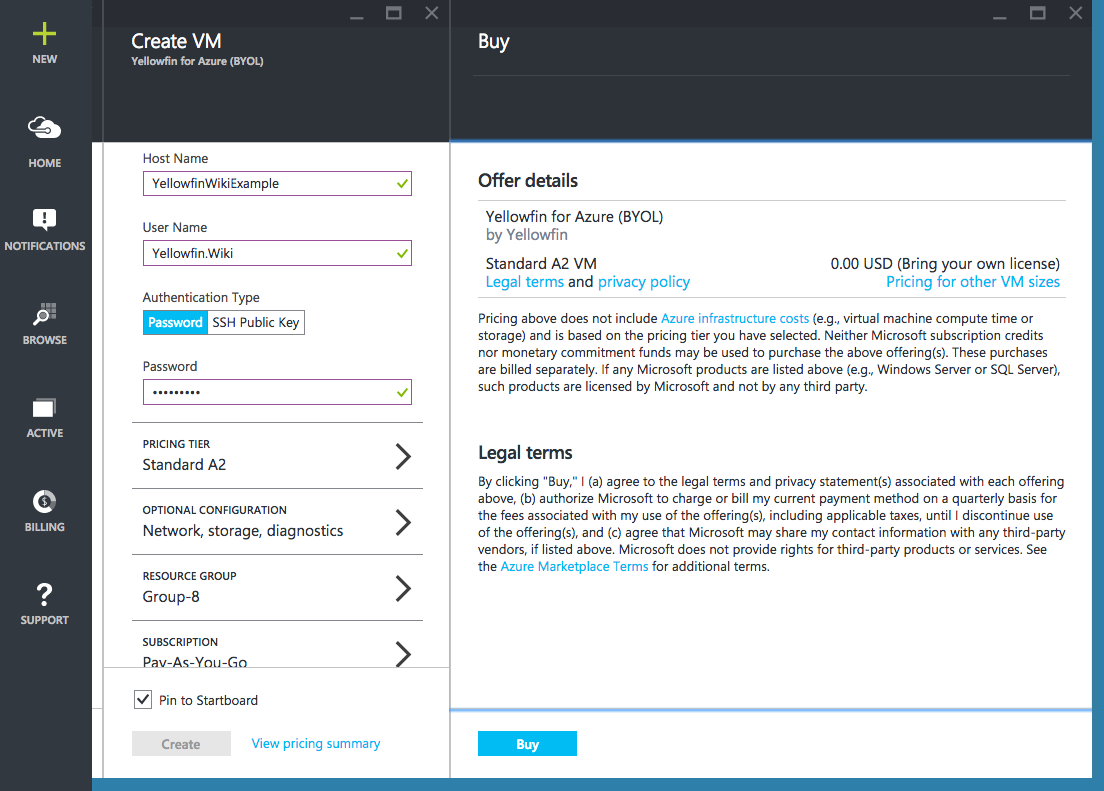
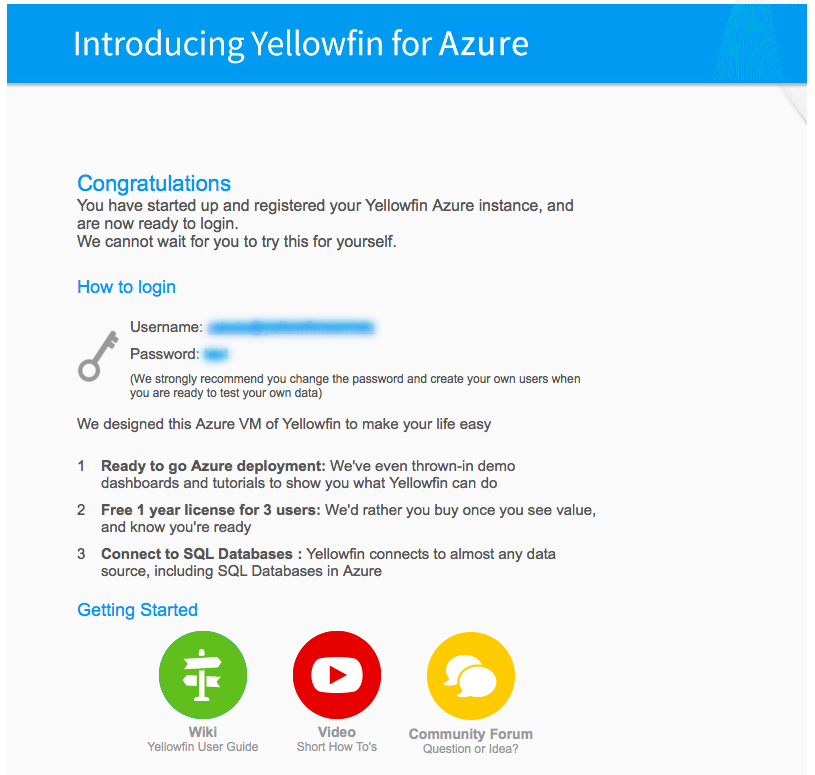
Option 3: Try the pre-installed version of Yellowfin for Azure
You are now able to set up an instance of Yellowfin for Azure quickly and easily, aiding in evaluation setup. This offer includes:
- Ready to go Azure deployment: Yellowfin with all of its tutorial content to demonstrate reports, dashboards, and storyboards.
- Free 1 Year licence for 3 users: the licence is designed to allow you to full evaluate the system, allowing you to buy once you've ticked all the boxes.
For more information, take a look at the the a Azure Marketplace page: https://azuremarketplace.microsoft.com/en-us/marketplace/apps/yellowfininternationalptyltd1616363974066.yellowfin-for-azure-byol-v2?tab=Overview
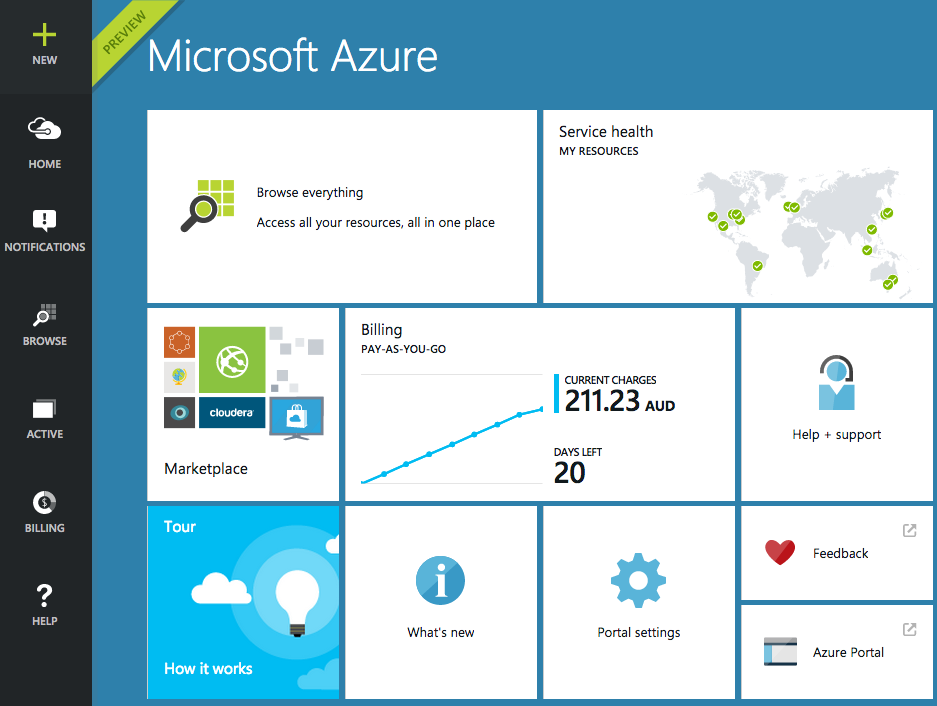
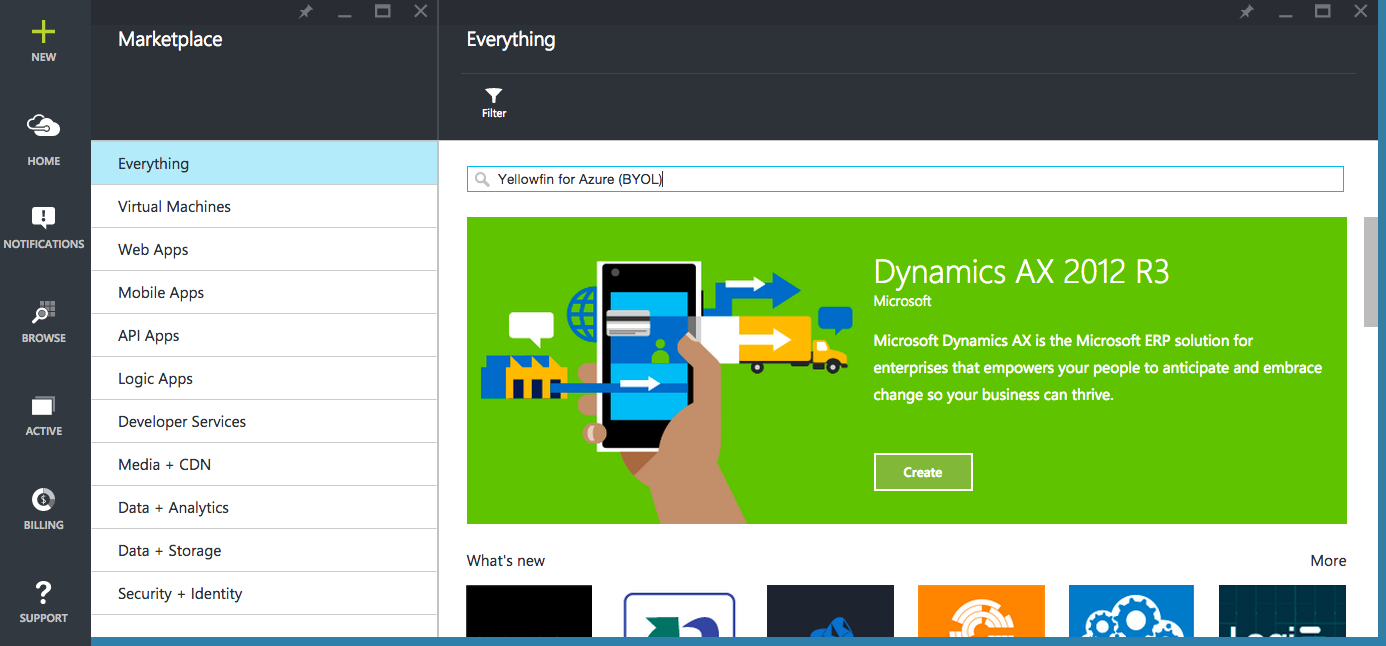
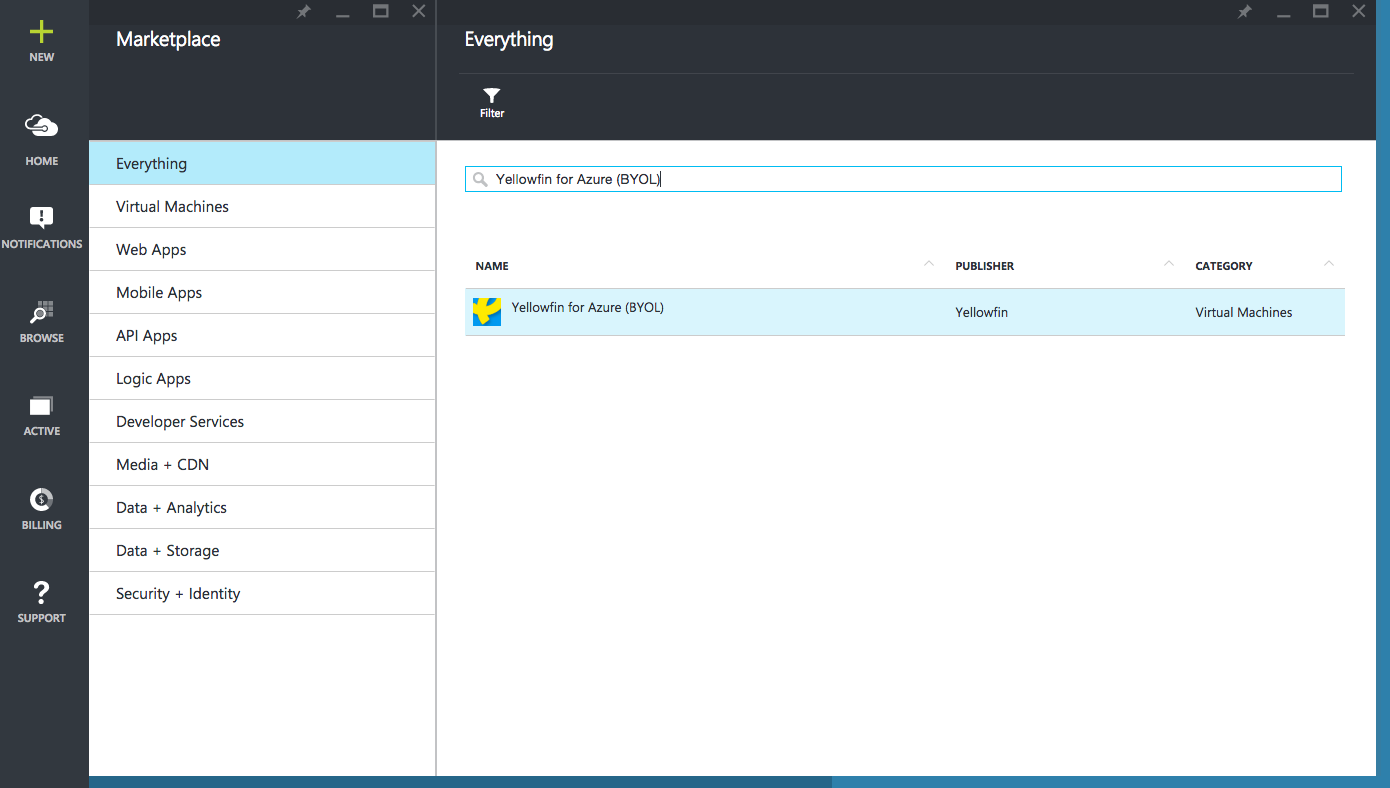
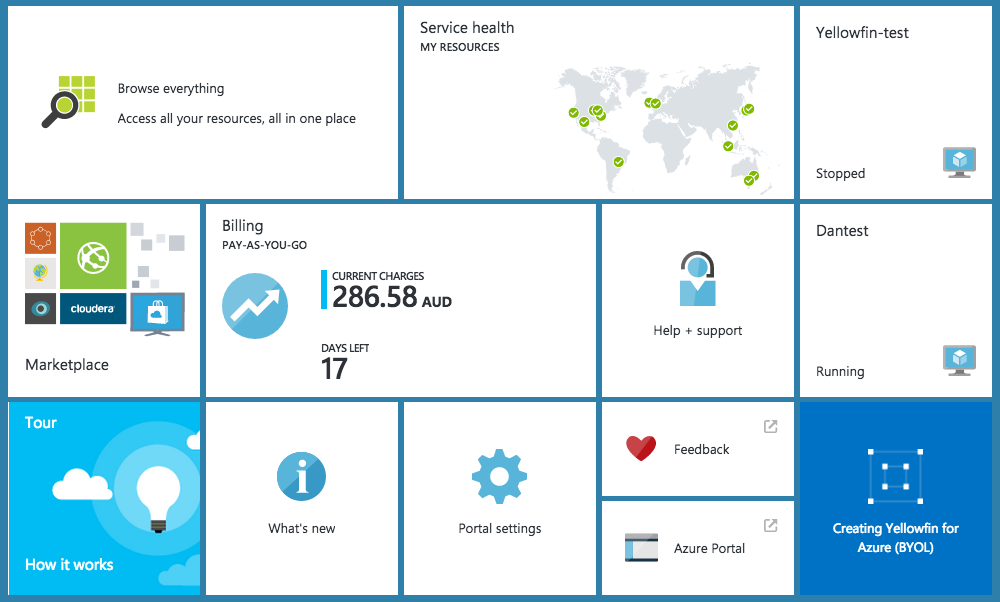
Access Yellowfin via Azure Marketplace
| Section | ||||||||||
|---|---|---|---|---|---|---|---|---|---|---|
|
| Section | ||||||||||
|---|---|---|---|---|---|---|---|---|---|---|
|
| Section | ||||||||||
|---|---|---|---|---|---|---|---|---|---|---|
|
| Section | ||||||||||
|---|---|---|---|---|---|---|---|---|---|---|
|
| Section | ||||||||||
|---|---|---|---|---|---|---|---|---|---|---|
|
| Section | ||||||||||
|---|---|---|---|---|---|---|---|---|---|---|
|
| Section | ||||||||||
|---|---|---|---|---|---|---|---|---|---|---|
|
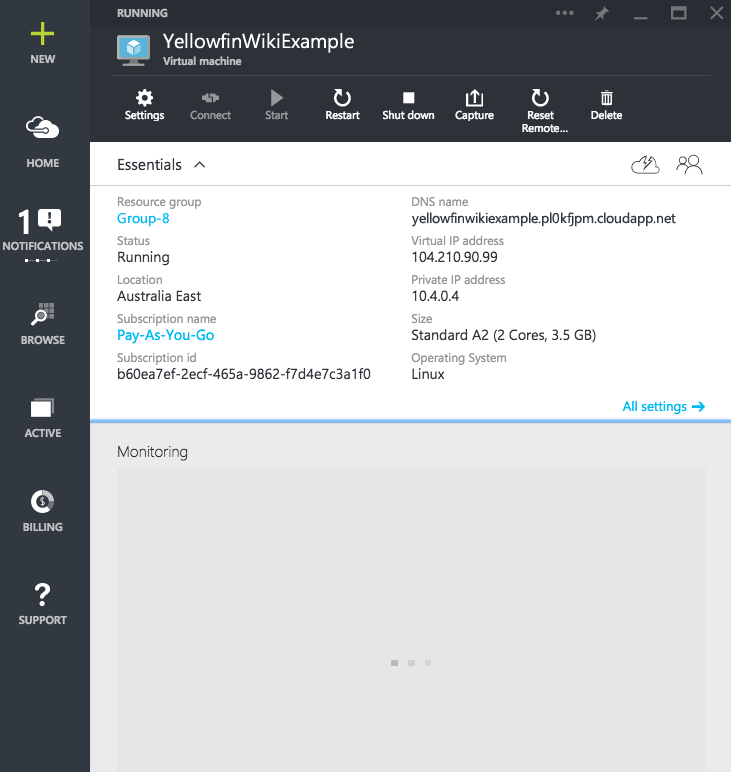
View instances
| Section | ||||||||||
|---|---|---|---|---|---|---|---|---|---|---|
|
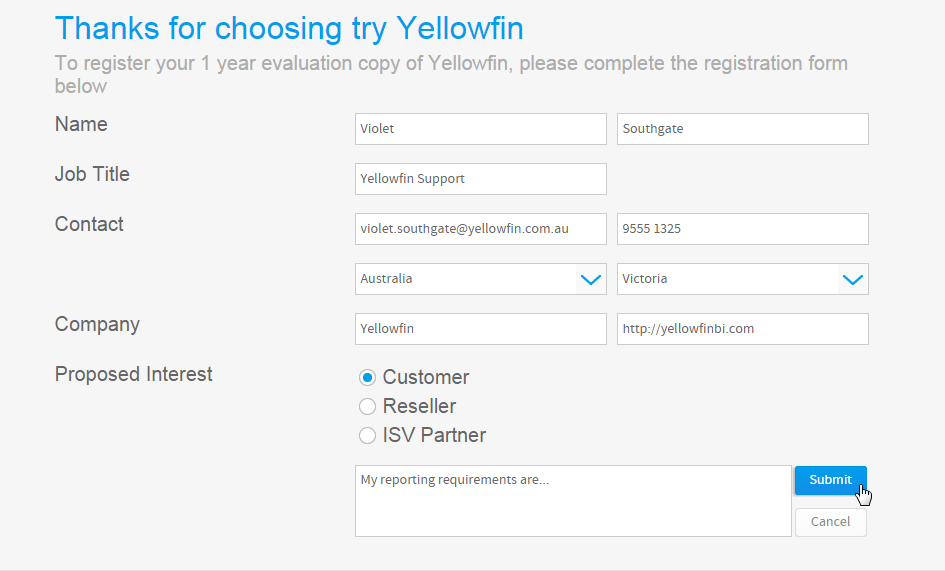
Register Yellowfin
| Styleclass | ||
|---|---|---|
| ||
Open Yellowfin
| Section | ||||||||||
|---|---|---|---|---|---|---|---|---|---|---|
|

Register Yellowfin
| Section | ||||||||||
|---|---|---|---|---|---|---|---|---|---|---|
|

| Section | ||||||||||
|---|---|---|---|---|---|---|---|---|---|---|
|
| Section | ||||||||||
|---|---|---|---|---|---|---|---|---|---|---|
|
What next?
Make sure you read through our Deploy Yellowfin page for the next steps on how to get started quickly with Yellowfin. It covers the configuration basics and provides information about log file location, directory structure and more.
| horizontalrule |
|---|
| Styleclass | ||
|---|---|---|
| ||
Section navigation
| Section | |||||||||||||||||||||||||||||||||||||||||||||
|---|---|---|---|---|---|---|---|---|---|---|---|---|---|---|---|---|---|---|---|---|---|---|---|---|---|---|---|---|---|---|---|---|---|---|---|---|---|---|---|---|---|---|---|---|---|
Current topic - Install in the CloudThis page is part of the Install And Deploy Yellowfin section of the wiki, which has these topics:
|
| Styleclass | ||
|---|---|---|
| ||