Prerequisites
Before upgrading to this version, ensure that you have covered the following prior to upgrading:
- Know what is new in Yellowfin 9. Download the version 9 Release Notes.
Understand and plan the impact to your current instance. See the Change Management document.
You can download both of these documents from here.
- Once you have covered these, download the latest patch installer. Log into the Yellowfin Support Portal and navigate to the Software Downloads section on the Support page.
Preparation
To apply a patch to a Yellowfin installation, follow these steps:
- Backup the Yellowfin configuration database.
- Shutdown the Yellowfin server.
- If you are running Yellowfin as a Windows service, stop the service.
- If you are running Yellowfin from the Windows Start Menu, please select "Stop Yellowfin Server" from the Start Menu.
- If you are running Yellowfin a Linux command link, please run Yellowfin/appserver/bin/shutdown.sh.
- Follow the patch steps as you would have in the initial installation. See below section for details.
Run the patch installer
Welcome Screen
The welcome screen is the first screen in the installation process. It informs you what version of Yellowfin you are updating to. Click the Next button to continue, or click the Quit button at any time to exit the installation process.
Terms & Conditions
The terms and conditions page lists the Yellowfin Software Licence agreement.
When you have read the licence agreement check the "I accept the terms of this licence agreement" radio button to agree and click the next button to continue.

Installation Path
You will have to define the installation directory for your current version of Yellowfin. This will default to different directories based on the operating system you are installing to.
When you have chosen your installation destination click the next button to continue.

Installation Progress
This screen will enable you to observe the progress of the software update. Depending on the server hardware and software capacity this could take a few minutes.
You will be able to click next to move to the next window once the installation is complete.
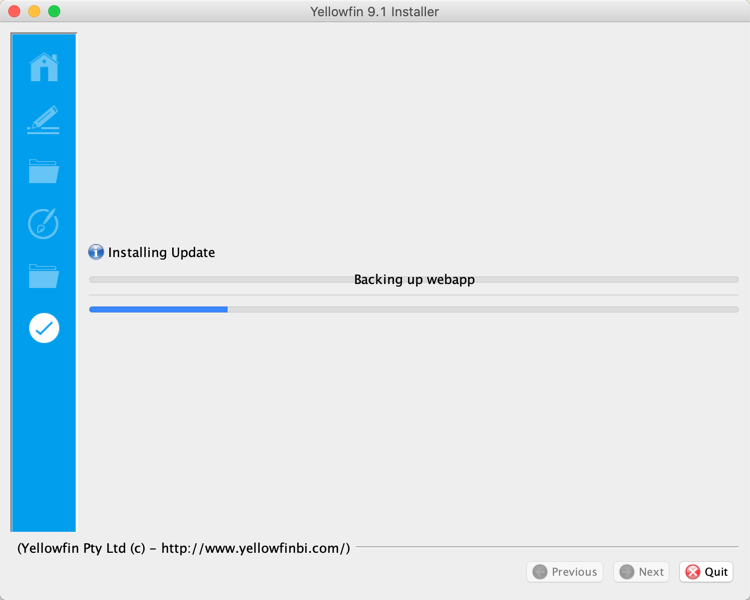
Chart and Report Formatting Defaults
Yellowfin 9 has Chart and Report defaults for colors, fonts, styles, padding and other types of visual formatting. These settings impact the default look and feel of your charts and reports without requiring much effort to further customize them. Whilst upgrading, you will be asked whether they’d like to apply these formatting changes or keep the previous formatting. Select one, both or none of the checkboxes to apply those defaults. See below for description.
- Configuration level defaults: These are color, fonts and style defaults for reports and charts. Administrators are manually able to update these via the Admin Console Content settings. Select the “Apply new configuration defaults” checkbox, to apply new default values to all existing and new content, otherwise the old default values will remain.
- Chart defaults: These are default chart formats set up in the Chart builder. This includes settings such as chart axes, legends, sorting, padding, and other visual elements. Select the “Apply new chart defaults” checkbox, to apply new default values, otherwise the old defaults will be applied to existing content. The new defaults will be applied to all new content regardless of the setting selection during upgrade.
Tip: for detailed information on the impact of these defaults, refer to the Change Management guide linked at the top of this article.
Click Next to continue.

Installation Completion
This screen will be displayed at the end of a successful update of the Yellowfin Application Server.
Click the Done button to complete the update procedure.
If you use the Yellowfin web service client library for web service integration, the yfws file can be found at the builds download page.