Page History
...
- Click on the Create + button, and select the Present option.
When the following popup appears, enter a name for the presentation.
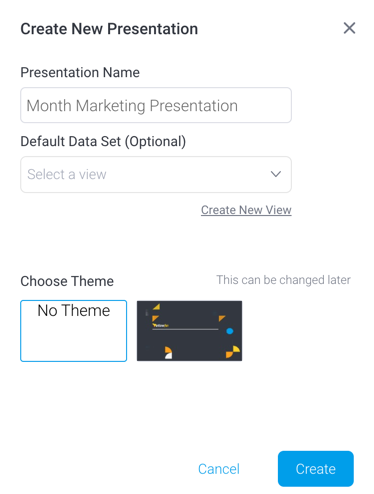
You may also select the default view or data set. Or click on the Create New View option to create a new view; this leads to the View builder.
To apply a theme to your presentation, select an existing theme. Click here to learn more about Present themes.
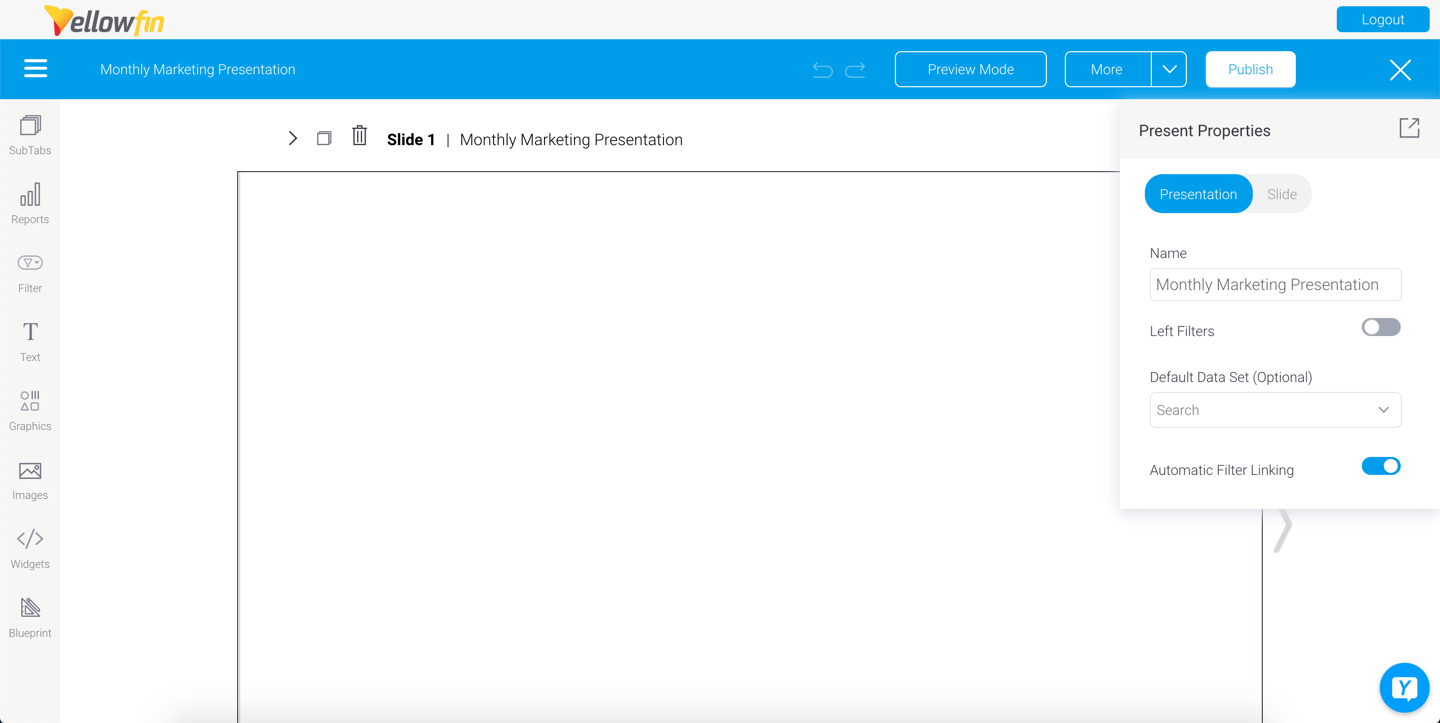
- A new presentation will be created, ready to be edited in Visual Mode. The features of this Present builder are covered in a previous section here.

- You can now add multiple slides to a presentation through the sub tabs menu. Alternatively, you may also copy a slide using the
 icon.
icon. - A Add content to your presentation through the widget navigation on the left.


You are able to edit or customize each slide and its content through its properties panel.
Note Note that you cannot resize a presentation slide. Each slide is fixed to be of the same size for consistency.
- You can switch to Code Mode, and add further customization or enhanced functionality to your presentation.
- The presents builder autosaves the presentation as a draft as you edit it, so there is no need to manually save it.
- When you wish to publish and present your presentation, use the Publish button. This also allows you to share your presentation with other users.
...