This section guides you how to use advanced functions for data modelling. Ensure that you have installed the plugin for the modelling platform or format (learn how to do that here), and then connect it to your content through the Advanced Function feature.
PMML and PFA
Here's how to integrate a PMML or PFA model into your platform.
- Save your model in either PMML (.xml) or PFA (.json/.yaml) format.
- Build a Yellowfin report with data you wish to generate predictions for.
- Drag in a new column that is of the same data type as the prediction to be generated. For example, if your model returns a categorical prediction such as gender, you would want to use a text dimension.
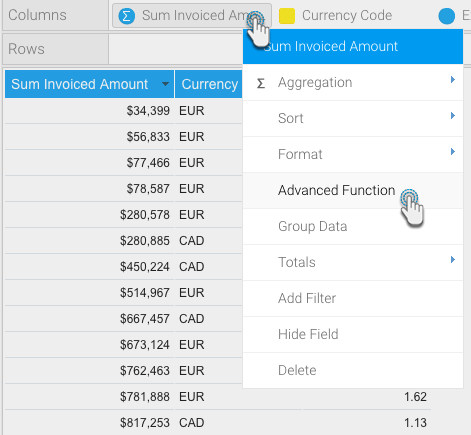
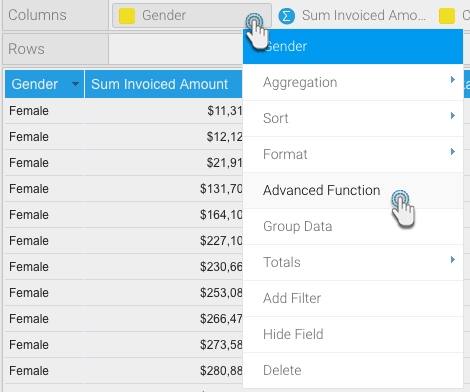
- Within the column formatting drop-down, click Advanced Function.
- Select the Plugin option from the drop-down and select the feature you wish to use.
- Provide the full filepath or URL to the PMML/PFA file and click Load. If the file path has not been correctly specified, you will need to click Reset, adjust the path, and click Load again.

- If Yellowfin is able to load the specified file, detailed configuration options will appear.
- First, specify which model output result you would like to generate. This will often be just the Default Target, but can also include other variables. (PMML only.)
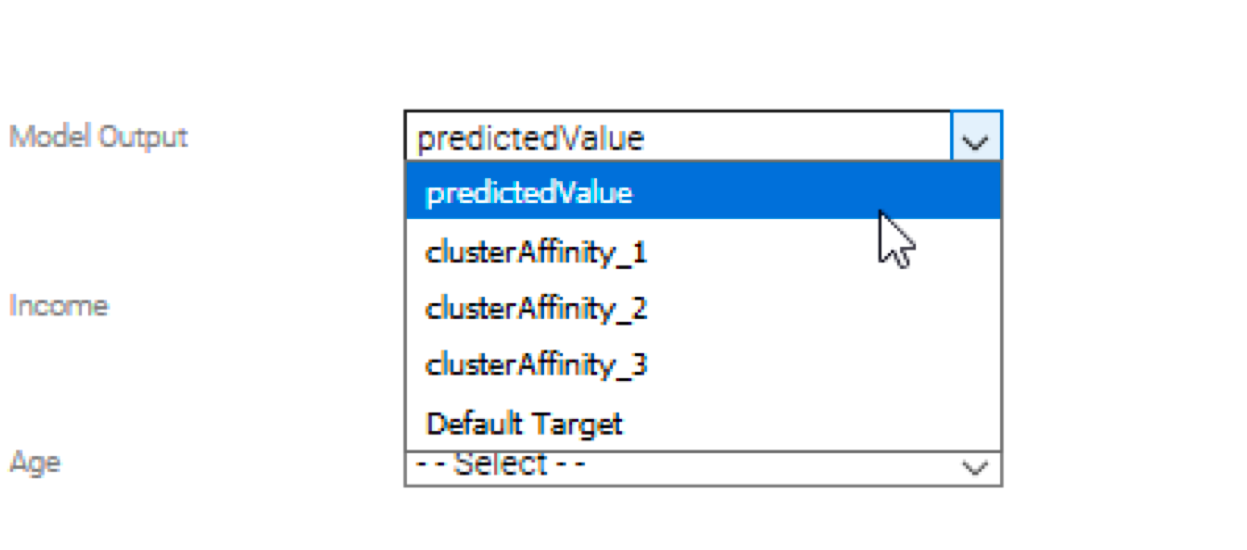
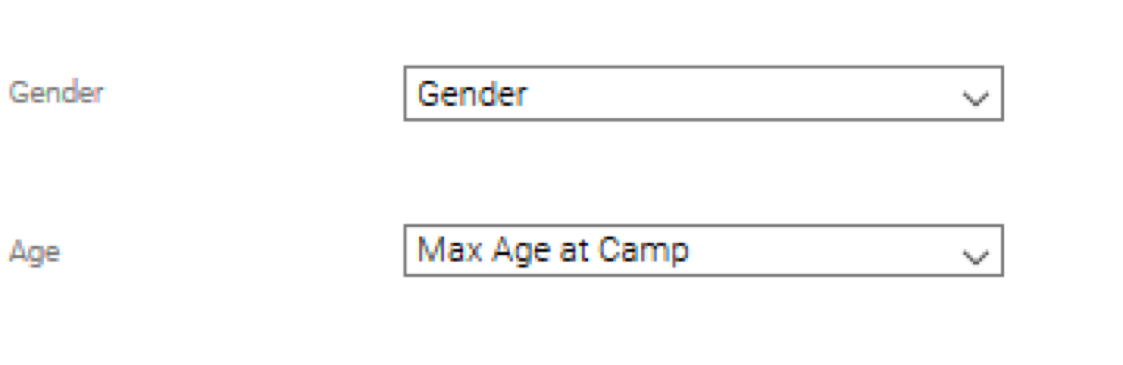
- Next, match the input columns required by your model, with the appropriate columns in the Yellowfin report.
- Click Save.
- Note: If there was a problem in processing the file, check that you have provided valid columns of the same data type required by the model, or look at the yellowfin.log file for a complete error description.

H2O
Follow this procedure to integrate a data model created in H2O.
- Build a model in H2O.
- Build a Yellowfin report with data you wish to generate predictions for.
- Drag in a new column that is of the same data type as the prediction to be generated. For example, if your model returns a categorical prediction such as gender, you would want to use a text dimension.
- Within the column formatting drop-down, click Advanced Function.
- Select the Plugin option from the drop-down and select the feature you wish to use.
- Provide the full URL to your H2O instance (including the port number) and click Connect.
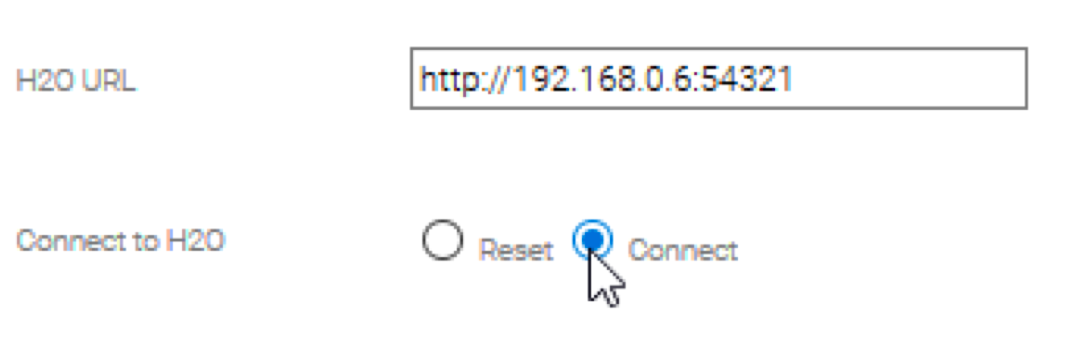
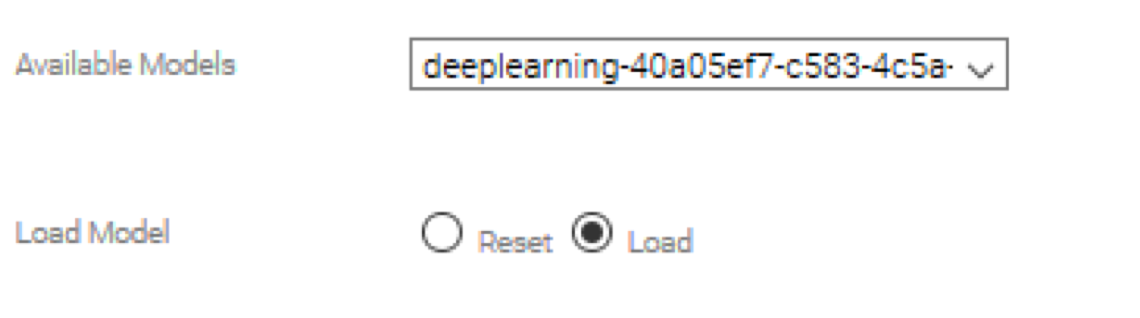
- If Yellowfin is able to connect to this URL, a drop-down menu will appear representing all of the models that are available for prediction. If your model is not currently supported, it will not appear in the list. Select the model you wish to generate predictions from and click Load.
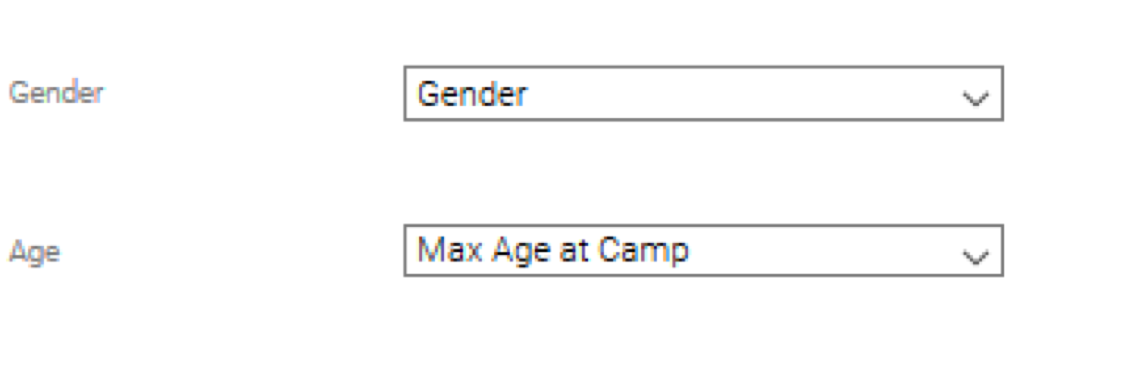
A list of columns will appear representing the specified file’s required input. Match these to columns in your report.
There is a maximum limit of 25 input fields. The system will not load a model which contains more inputs than the limit allows.
- Click on Save.
- Note: If there was a problem in generating predictions, check that you have provided valid columns of the same data type required by H2O, or look at the yellowfin.log file for a complete error description.